October 18th, 2009
Vacation was good this year, although I didn't get to see or photograph as many trains as I would have liked to, but I still had fun. While I was gone, I kept thinking of the many things I wanted to do to the layout, so this weekend, I decided it was time to do one of them. I had bought some automated grade crossing stuff quite a while back, maybe a year ago, and besides a test hook up to see if they worked, they've been sitting in a box since. So this weekend I dug them out and proceeded to install it all.
The main unit is made by Logic Rail Technologies, and it comes with 4 photocell sensors used to detect the train. This unit also controls 2 crossing gate motors and an add on sound module. The sound module I purchased is made by ITTC and it comes with a small 4" speaker. The main modules were pretty easy to install, but the photocell sensors were a bit of a challenge, since they were just a bit too big to fit between the ties. So I ended up cutting out 2 ties, drilling a hole and placing the photocells under the ties. This worked out real well, and although they are half covered with tie, they still work perfectly.
As of tonight, I have the units in place and wired up with the N.J. International crossing gate lights wired, but I still need to get the motors and linkage put together to animate the crossing arms. I'll work on that this next week, since I'm going to need to buy some small pullies and tubing for the actuating lines to run through. Hopefully next week or so I'll have the arms working as well. I will also have to purchase some more photocells and another unit for the passing track, but since it all ties into the main unit, I can add that at a later date without having to rewire anything. So here is this weekend's progress.
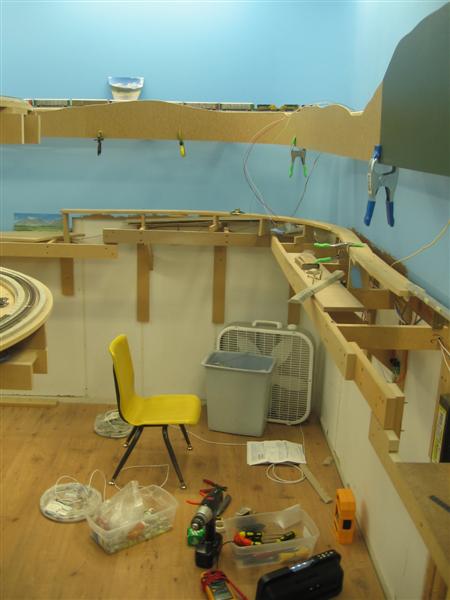
The work area for the weekend. The crossing is going where the locomotives are sitting at on the upper level.
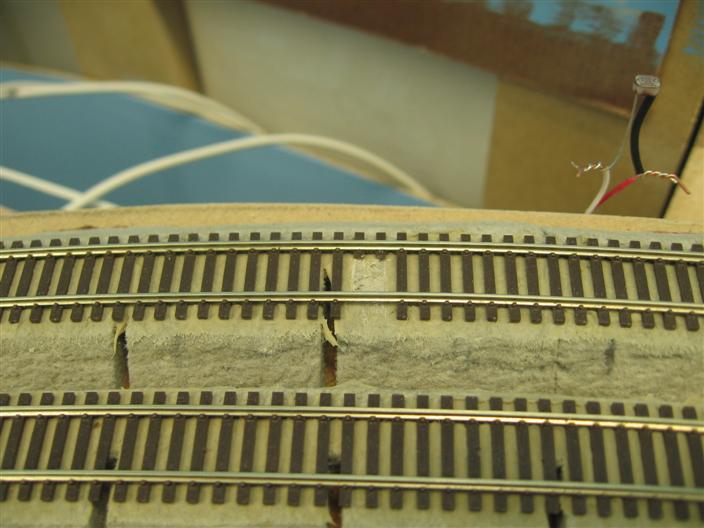
First thing was to cut out 2 ties. The track side nearest the camera is the movable side on the flex track, so these came out pretty easy. The back side would be too hard to cut out from underneith, so I made two cuts right next to the molded on spikes.
The photocells (which is sticking up in the background to the right) have 2 wire connections, so these were drilled into the roadbed.
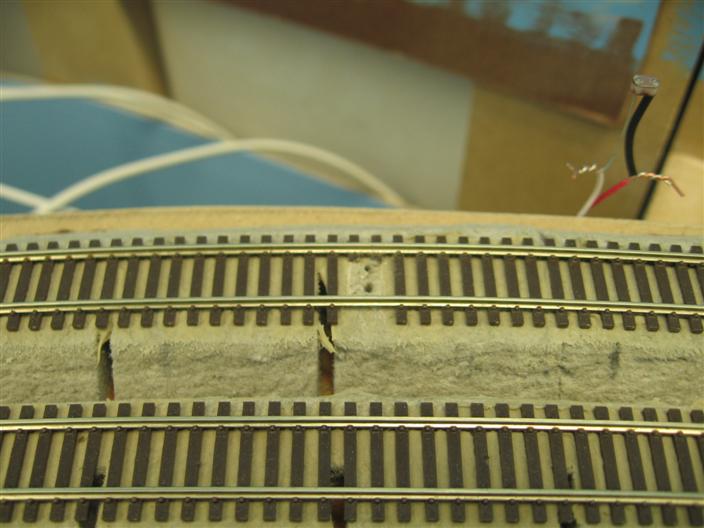
I then enlarged the hole with a large drill bit for the photocell to sit in.
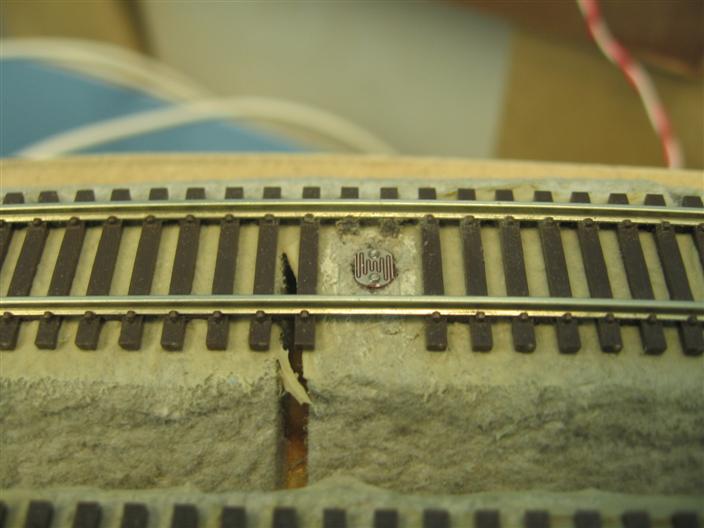
I then test fit in the photocell and made sure it sat just below tie level.
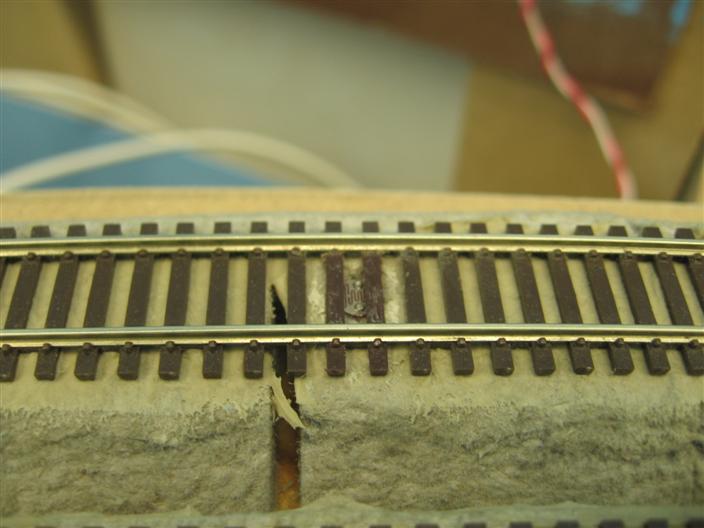
After cleaning up the edges on the cut ties, I cut out a 2 tie strip from old flex track, filed the spikes off the inside, and slid it under the rail and glued it to the cut ties.
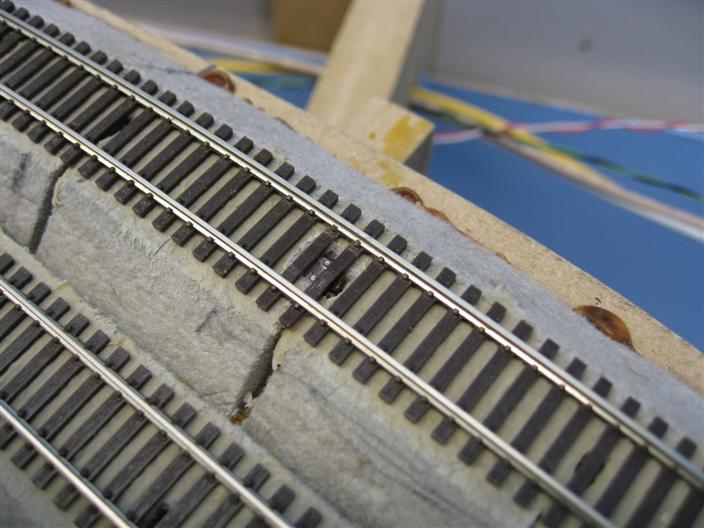
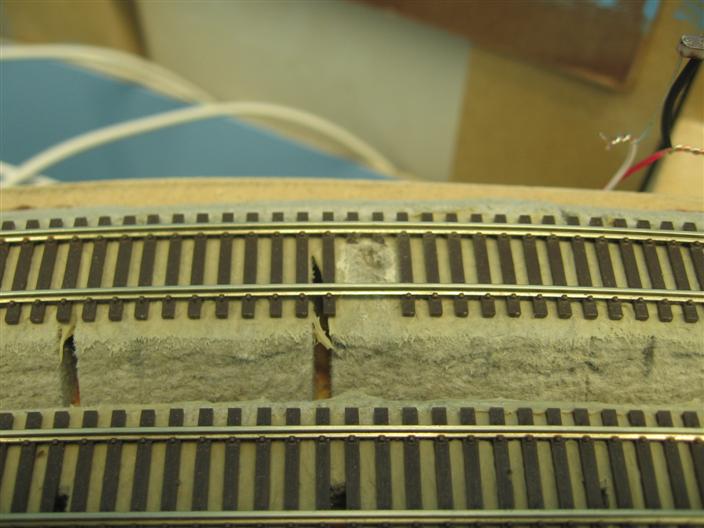
Here is another shot of a photocell. This was done in 4 places along the main line.
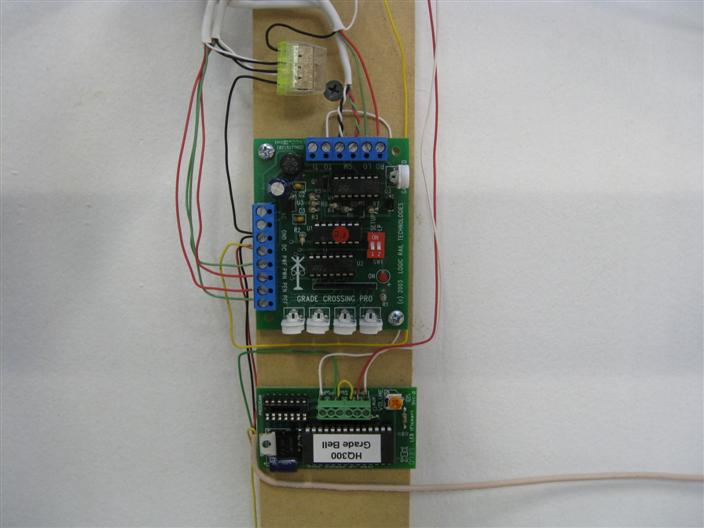
The main unit on top, and the sound module on bottom.
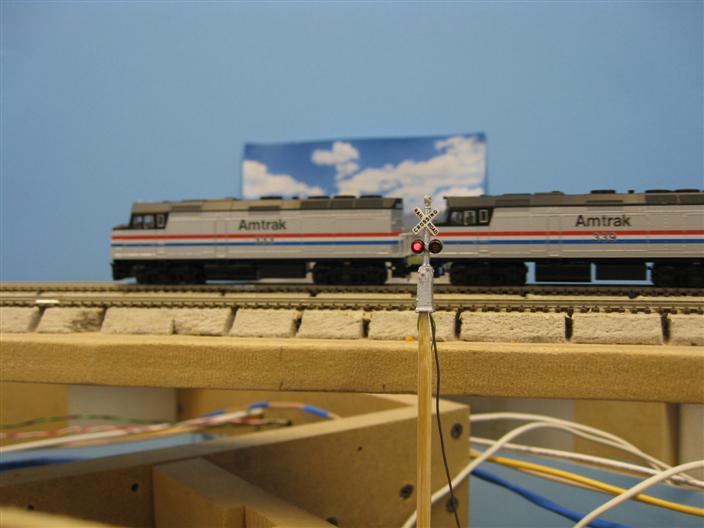
Amtrak rolling by the flashing lights. Still need to get the motors and linkage set up for the crossing arms.
Here is a short vid of Amtrak rolling by the flashing lights.
All material on The Owens Valley Subdivision website is Copyright 2007-2009 by Michael Stoner. None of the material (including text and photographs) on this web site may be reproduced in any form without prior written permission.