February 12th, 2011
What to say. . . . . . . My mind is numb right now as I'm trying to accept the change.
I had been working here and there on the layout for the past few months, but not enough for an update. Mostly just detailing locos and programming decoders. Nov and Dec are busy times for me at work. Add to that it's cold and the days are short, and I had also lost a bit of interest in working on the layout. In fact, my interest in model trains was dropping a bit. Not that I'd ever totally lose interest, but enough that I wasn't going to the online sites I usually went to.
So, since last update...
I had been working with that Easy Mat stuff, and really didn't like using 2 layers of it. Also, it was pretty hard to add super elevation to the curves. I had tried the layers of masking tape method, and when it come time to glue down the track, it didn't want to stick too well to the masking tape and Easy Mat, due to the fact the middle of the track was not touching anything. Using more glue just made it ooze out between the ties and make a mess.
So I started thinking about super elevating the subroadbed. I will state that I've always been fond of layouts that use the spline method (gluing 1/4" strips of masonite together) and had thought about going that direction when I first started the OVS. I didn't, because of using the 1/2" homasote. But the more I started not liking the homasote, the more I thought about redoing the main line with splines. This had been in my mind these last few months, and I had cut out some spline to go around the lower level from the turnout/bridge at Mammoth all the way down to the flat table top of North Bishop and the yard.
Now we come to Thursday, 2/3/11.
It was cold here in Sedona, colder than it's been in years. In fact, it's only been this cold here about a half dozen times in all the 30 years I've lived here. The night's low reached down to 15°. When I left for work, it had jumped up to 21° and warmed up later in the day. When I got home around 3 pm, I noticed a smell in the house. As I walked to the rear, I heard it. The sound of rushing water. It was "raining" in the train room. The water pipe above the train room had cracked, and once it warmed up enough to thaw out the water, it started flowing all over the ceiling. I had about 1/2" of water all over the floor in the train room....
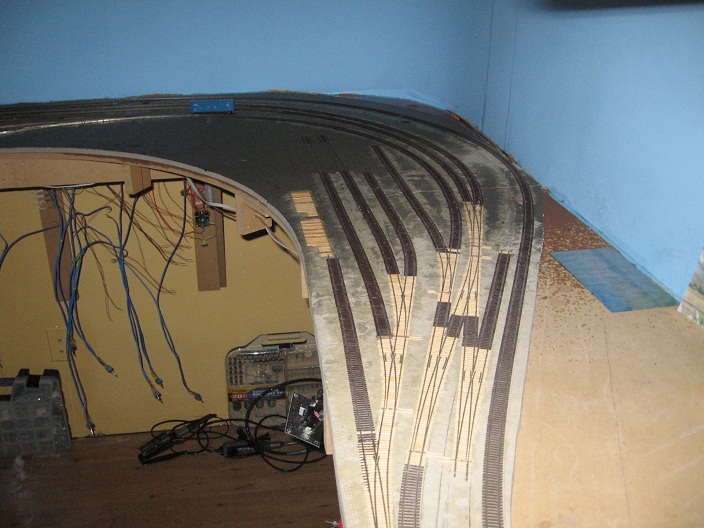
Pictures say more than words.
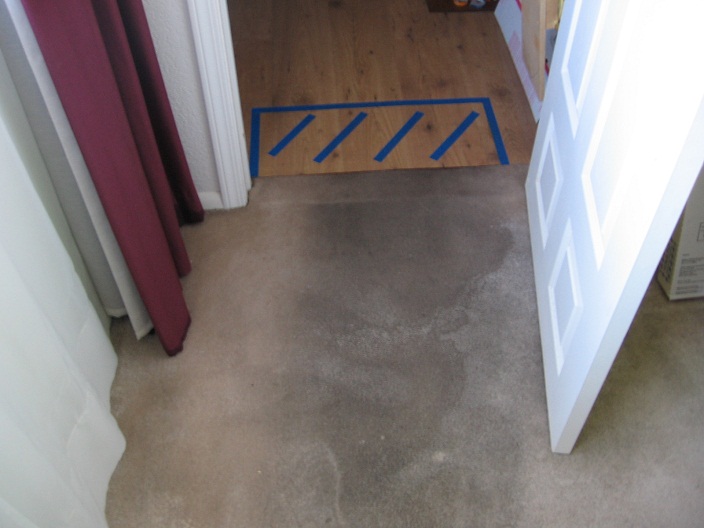
carpet was soaked
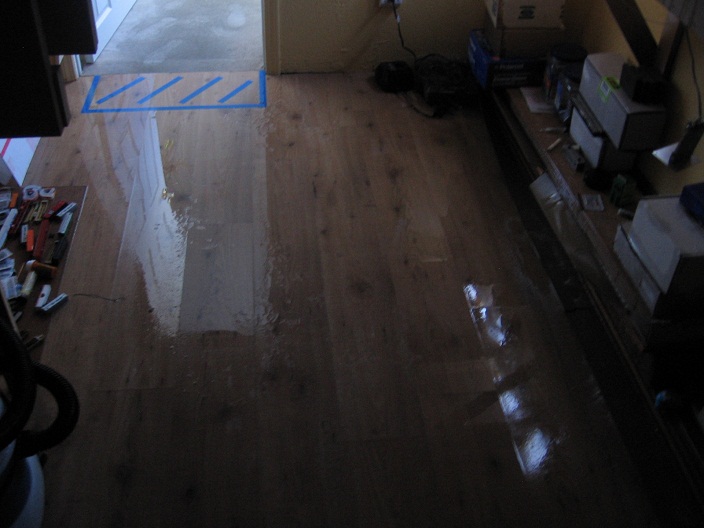
a layer of water all over the floor
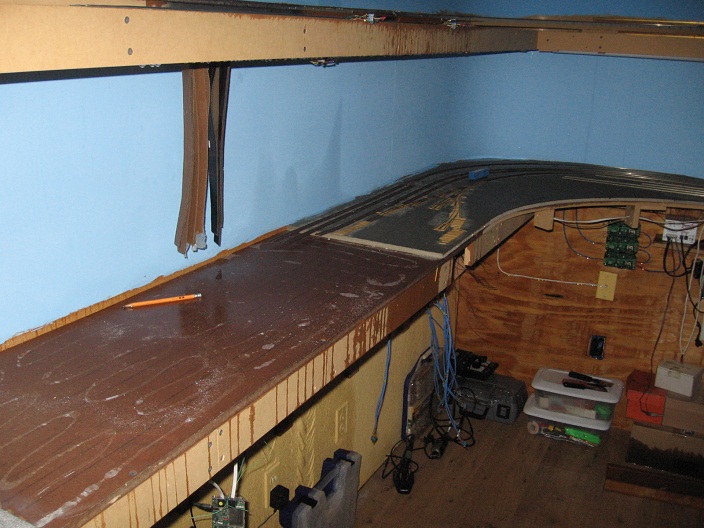
The busted pipe was located in the ceiling above the yard. Note the Digitrax and circuit breakers covered in water
Water down the wall
Homasote was soaked
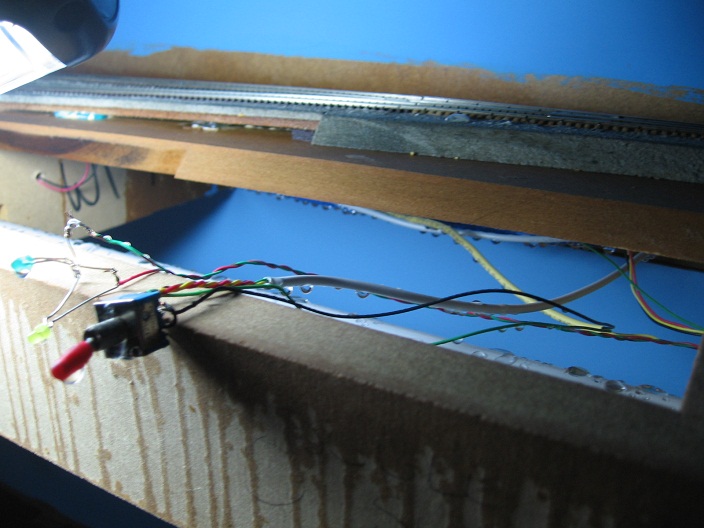
North June Lake Siding and the toggle for the turnout
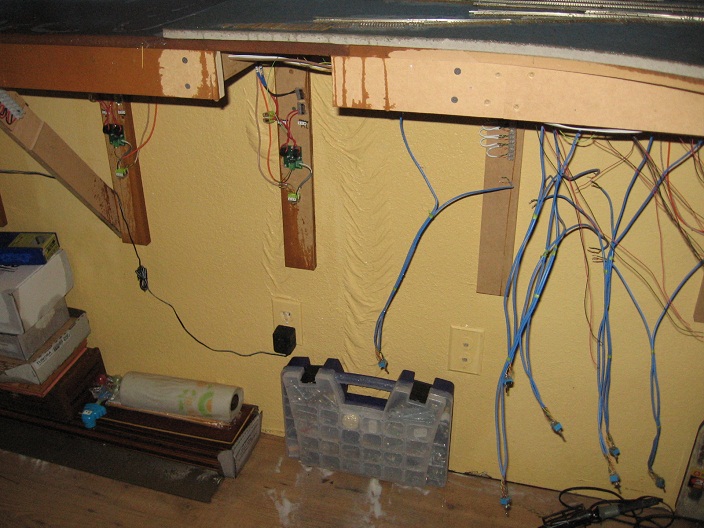
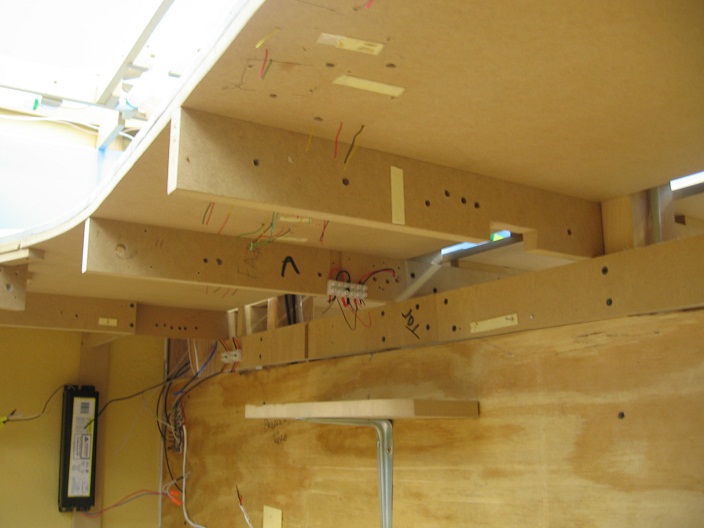
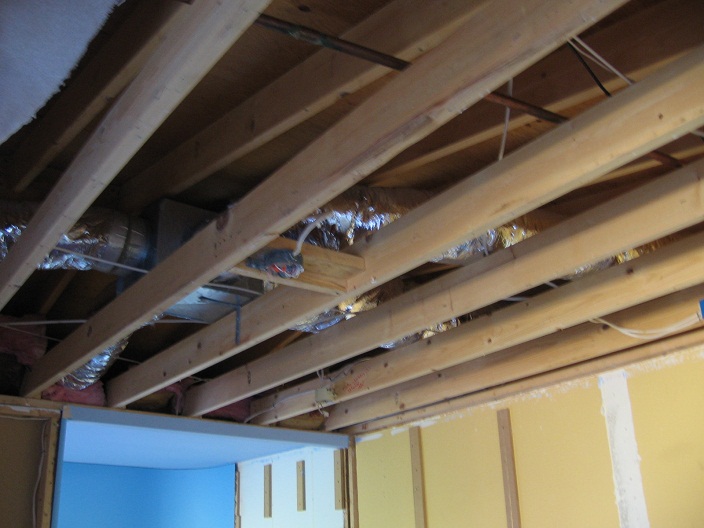
Wiring under the upper level
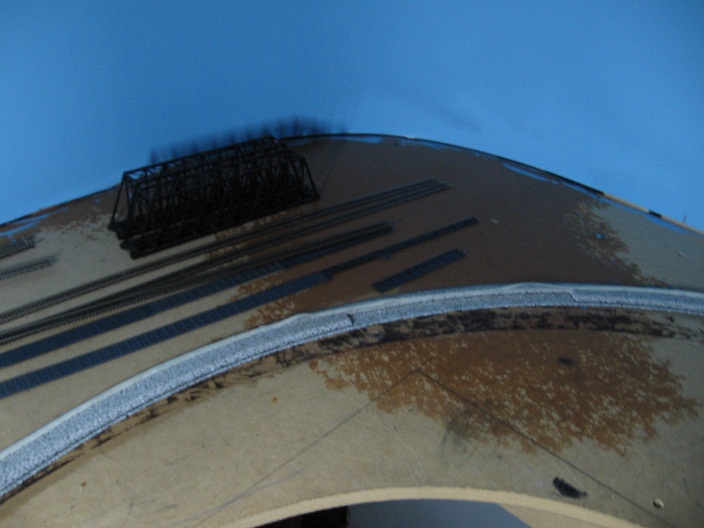
North Bishop also got hit

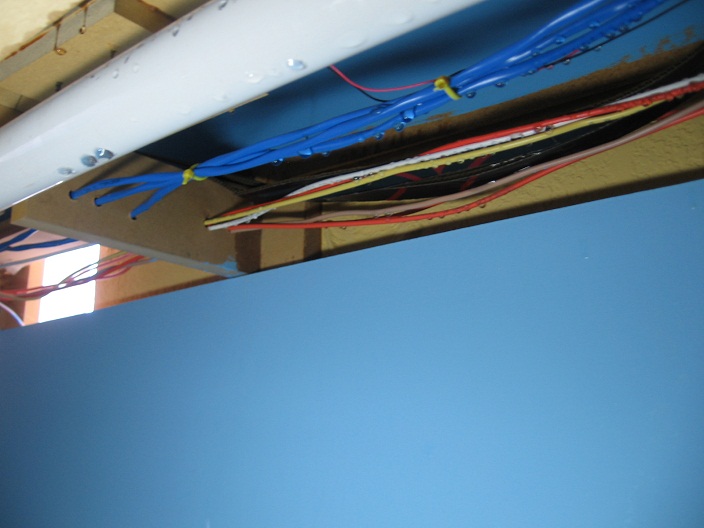
Under the peninsula wall. The water leaked down between the backdrops and soaked everything on this side as well.
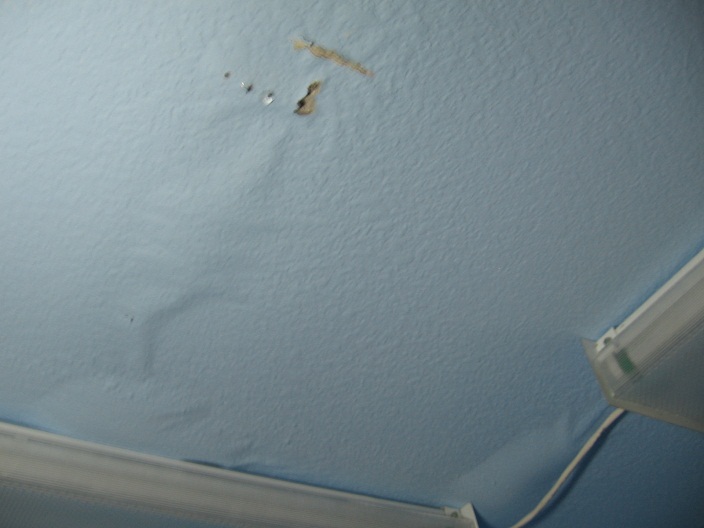
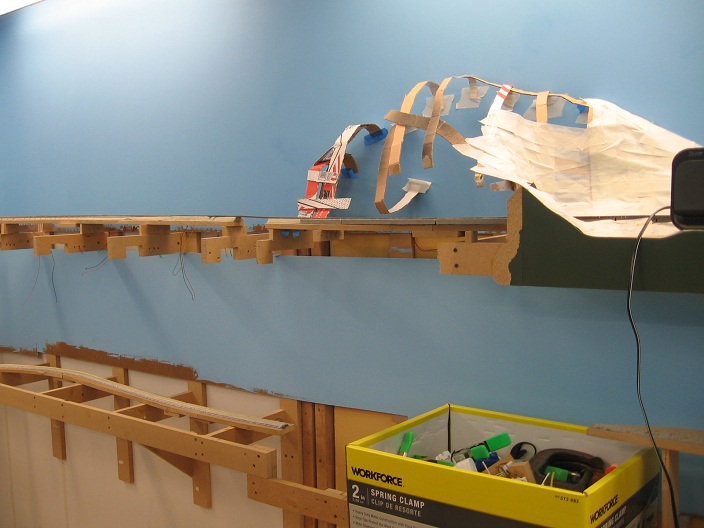
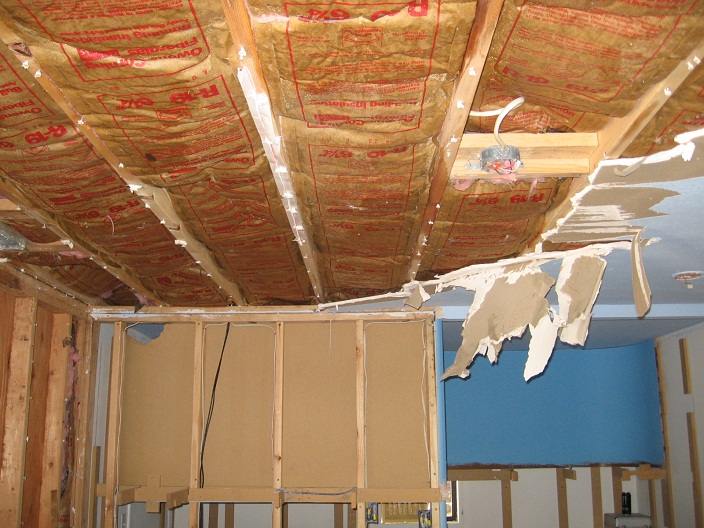
Dripping water. The ceiling was sagging all over the place.
Not only did the train room get soaked, but it leaked through the wall and into the laundry room where I have the staging yards. The floor was soaked in there as well as some of the garage floor. Just outside of the train room the carpet and a lot of the wall was soaked too. After a few days of back and fourth with the Insurance company, they sent out an inspector to go over everything and begin the clean up. It was determined that all of the ceiling and most of the room will have to be gutted and dried out.
This meant that the layout would have to be removed.
Once I accepted the fate of my 4 years of work in there, my father and I began removing what was still salvageable. Some wiring came out, toggle switches, switch machines and all the electronics that were not harmed by the water.
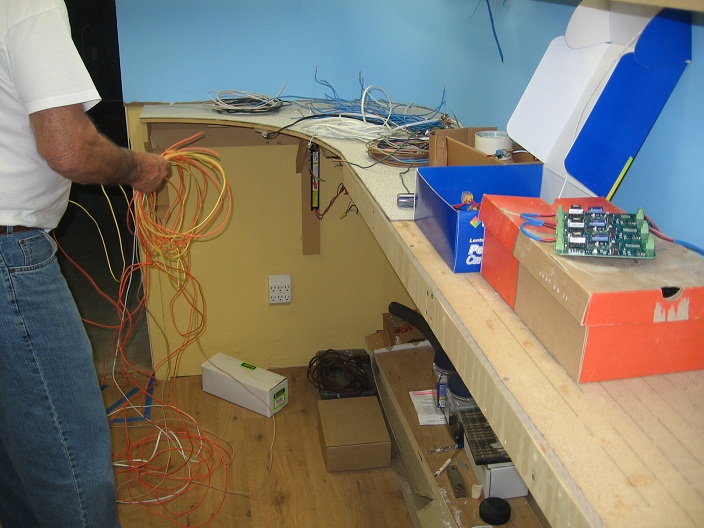
Some of the wiring that was still good
under the yard.
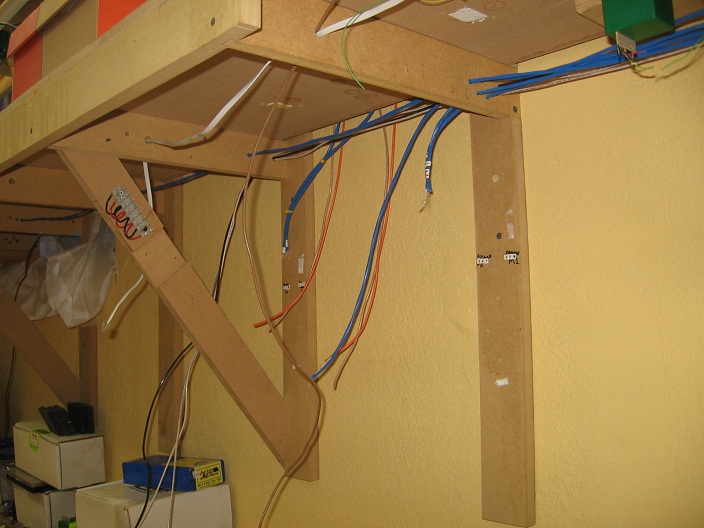
More wiring being taken out. The detection circuits that were on these 2 posts were saturated, so are being tossed.
The demo crew would be there 2 days after the inspector, so after pulling all the salvageable stuff from the layout room, I had the heart wrenching job of tearing out part of the layout that was in front of the rear door to the room. It would be easier for them to come and go through that door than keep going through the house. So in went the hammer and out come the backdrops and benchwork.
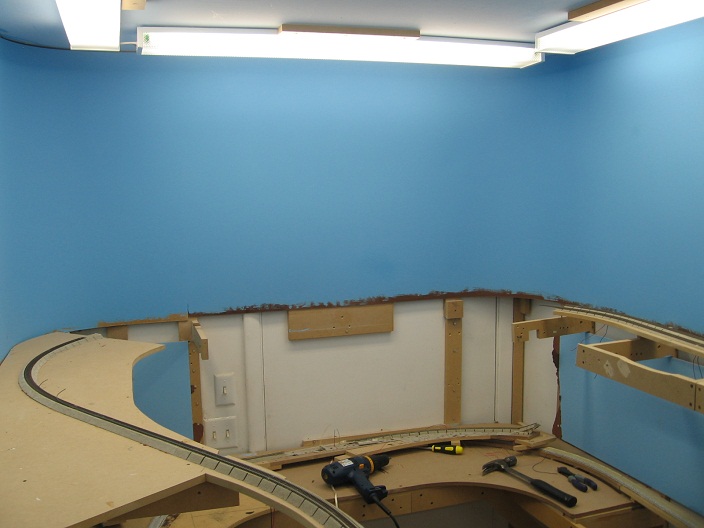
bottom backdrop pulled out.
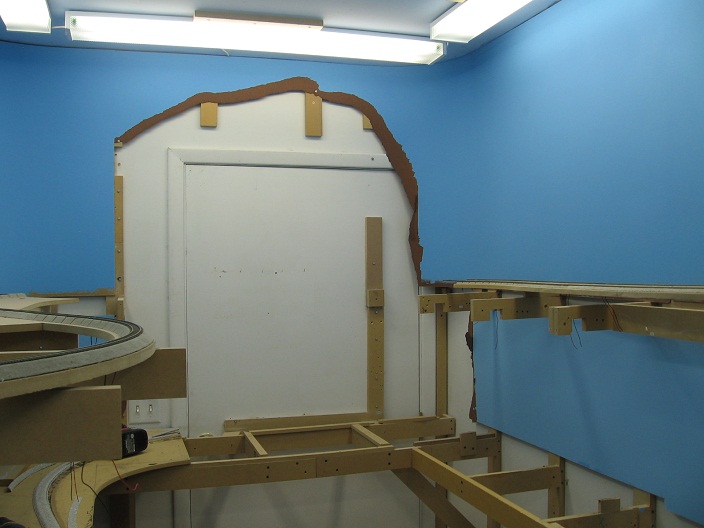
On to the top backdrop
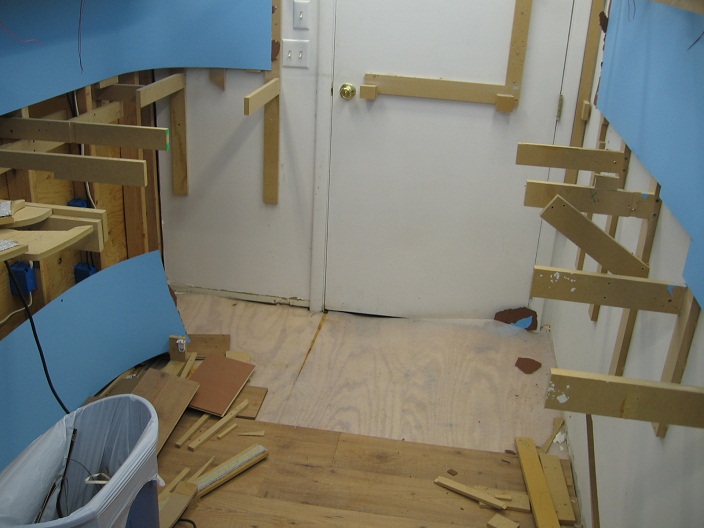
Had to pull up some of the flooring so the door could open.
Ended up pulling a bunch of the upper level facia off also.
I had told myself before that I was only going to build the helix once, so after breaking up a few boards, the helix came out and was saved.
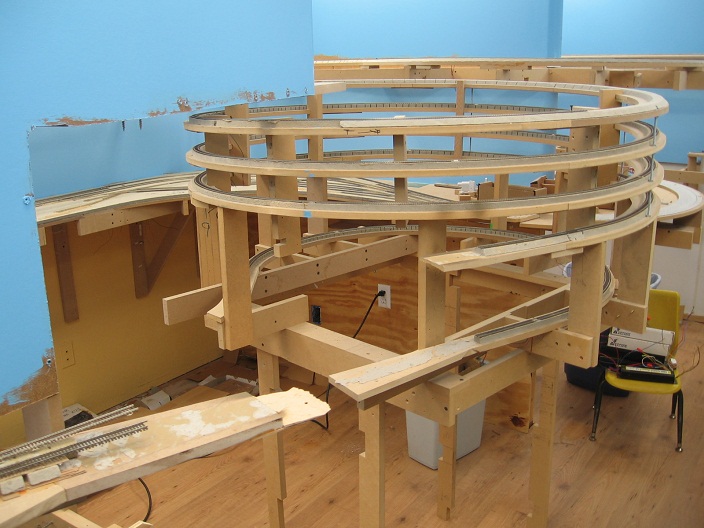
Busted free
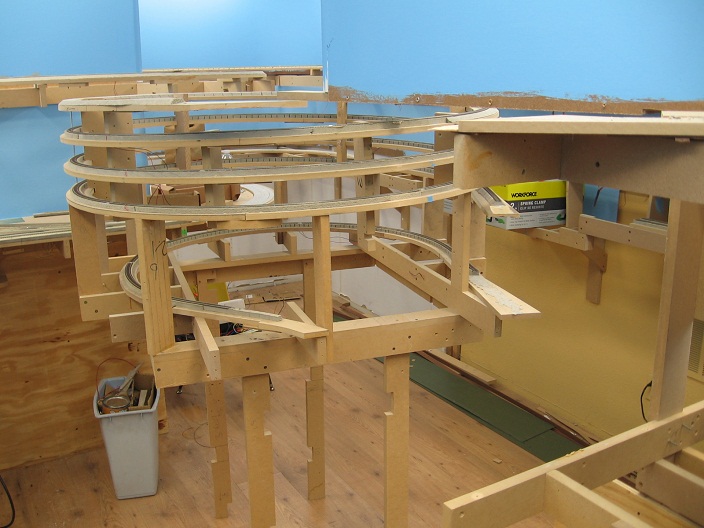
Slid out and ready to take the legs off
Legs off
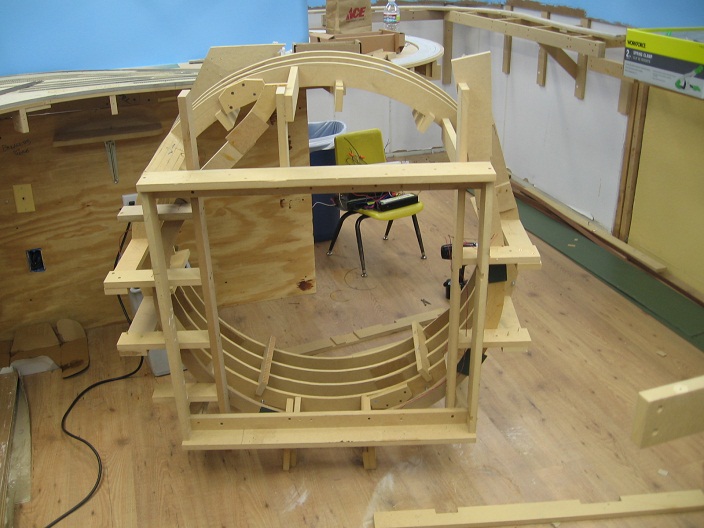
About to take it out of the room. Luckily no water got on it.
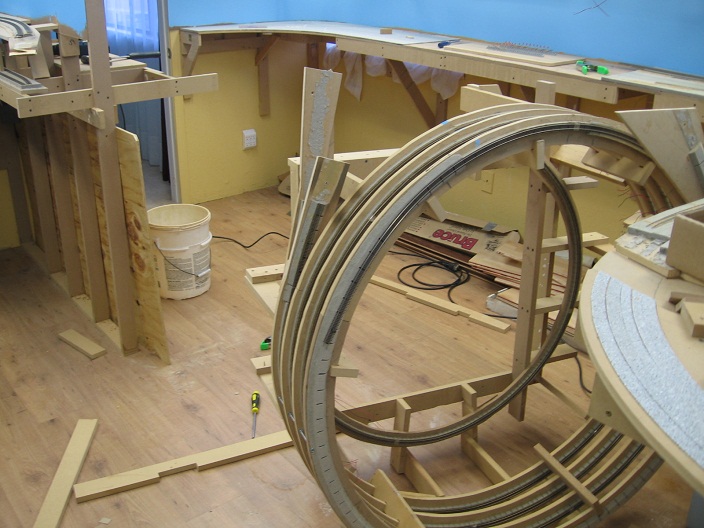
Helix out, Mammoth taken out and the curve sitting next to the yard.
Last of the lights are being removed
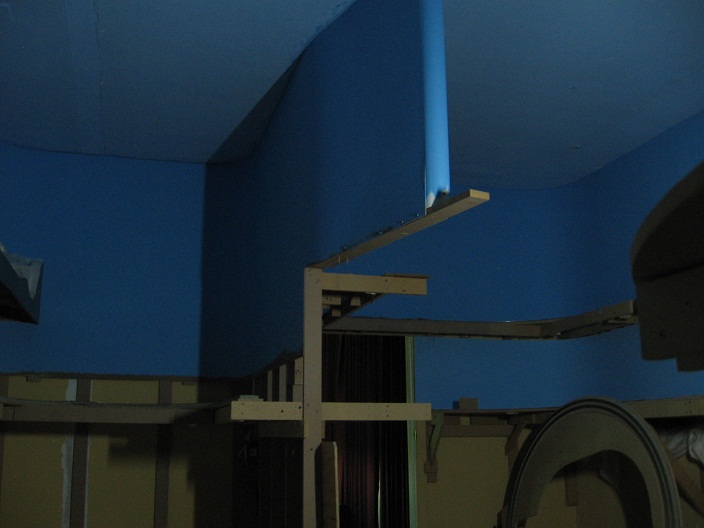
Kinda eerie in there with no lights up and part of the layout laying on the ground.
Last shot of the backdrops
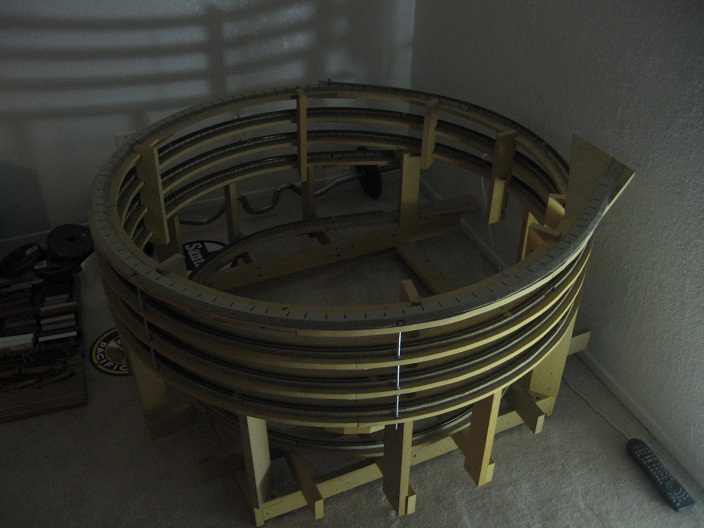
The helix is now stored in the middle bedroom until it can be used again.
After saying goodbye to the layout Tues night, the demo crew showed up Wed and had most all the room stripped by the time I got home from work. I had my father take pictures for me while I was working.
Looking through that door that was opened up the night before. A pile of track, wire, homasote and mdf.
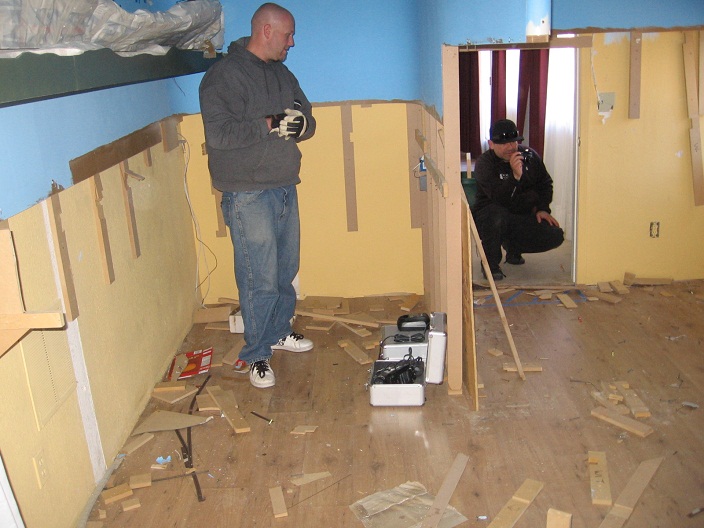
The guys from the demo crew.
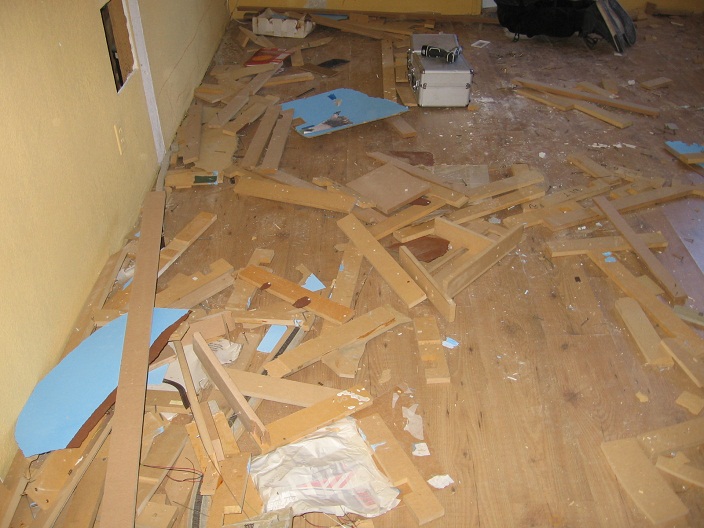
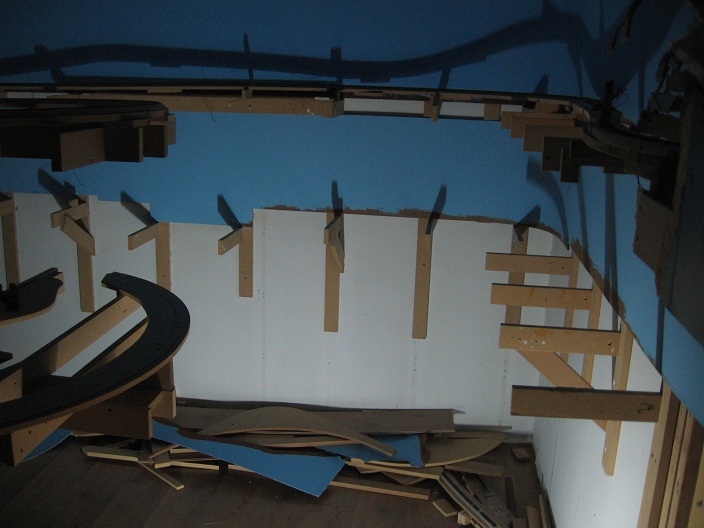
More layout pieces
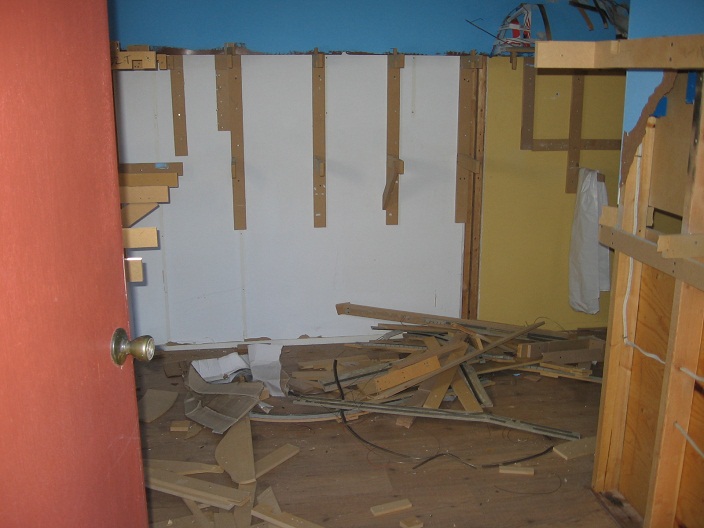
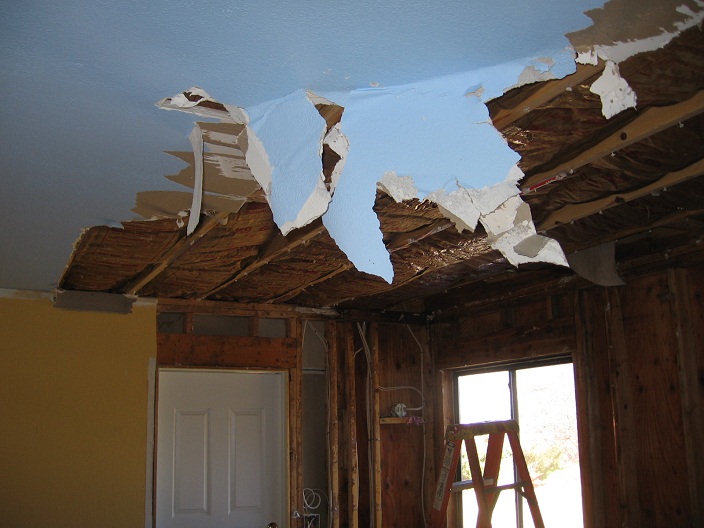
Most of the layout and wall where the yard was is gone. Ceiling being removed.
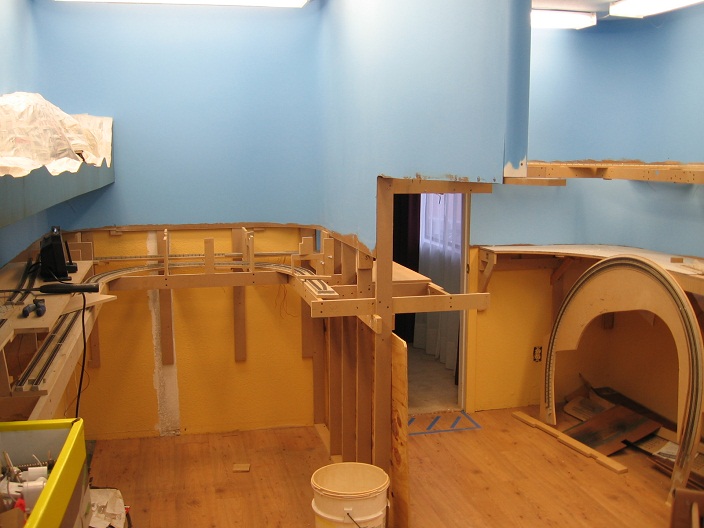
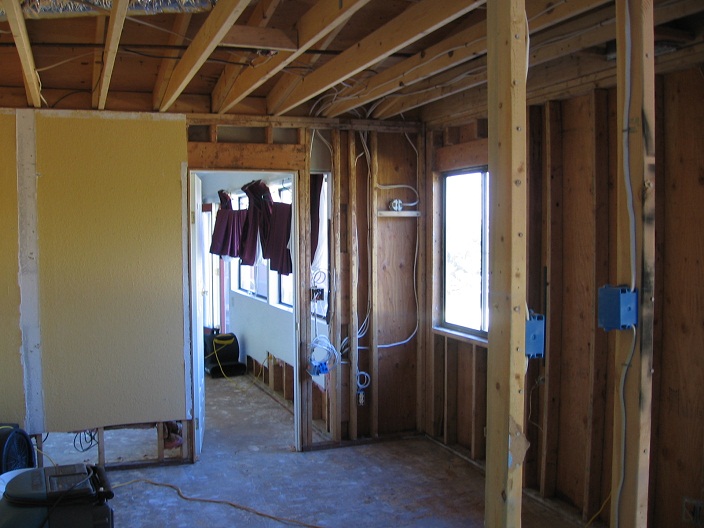
Looking back at the entrance to the layout room.

One of two parts that didn't need to be removed. I ended up taking this out a few days later.
Ceiling is gone
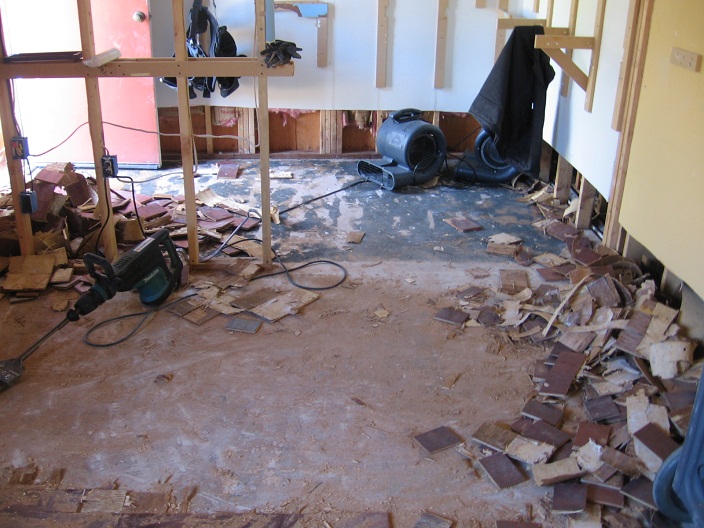
Day 2 of the demo crew. The good hardwood floor that was under the cheap stuff is being removed.

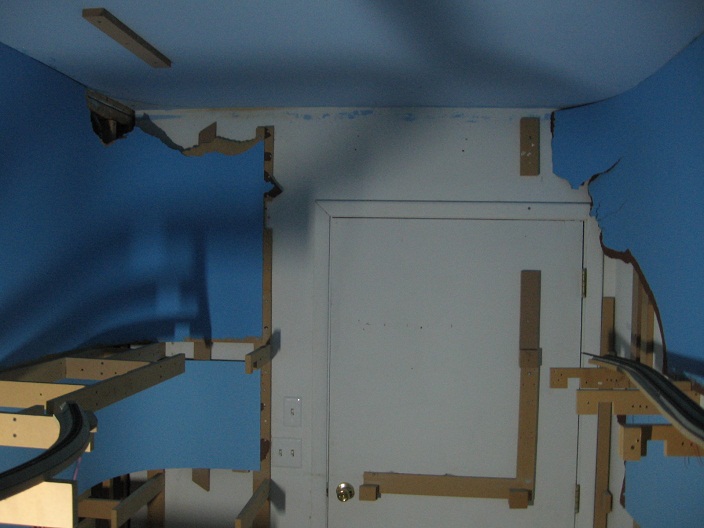
This is the other part of the layout that was not removed. I'll end up taking it down also.
Last view of the layout room.
Right now, I'm looking at 4 to 6 weeks till this part of my house gets put back into a livable condition. Until that time, I'm sure I'll doodle some more track plans and see how I can fit a new layout into this room. I might end up going with the same layout again, or I might move some peninsulas around. I guess it's back to the drawing board.
This is not the end of the OVS, it will be rebuilt. I love model railroading too much to say goodbye. I will find enthusiasm again, and I will keep you all updated of what happens next.
Thanks for following along ☻
Mike
All material on The Owens Valley Subdivision website is Copyright 2007-2011 by Michael Stoner. None of the material (including text and photographs) on this web site may be reproduced in any form without prior written permission.